
On the 29 June 2019, we visited Jumbo Mushroom Farm along with 21 families. This trip was organised by mummy Jac, thank you! Jumbo Mushroom Farm is located in Kulai, right next to Putuo Village 普陀村. We had to wake up very early in the morning to get ready in order to reach there by 9am.

We started off the tour with an introduction by Ah Ming, whose family runs this mushroom farm since 2009. Jumbo Farm grows Grey Oyster, Ling Zhi, Black Fungus mushroom with zero use of chemical fertilizers. They only very recently started to conduct educational tours in their farm. After the introductory session, we proceeded into the farm tour itself.

A short walk from the initial gathering point, Ah Ming brought us to one of the many mushroom house in the farm. There are altogether 26 mushroom houses in Jumbo Mushroom farm, of which we will enter one of them to learn to harvest the mushroom.

Here, Ah Ming explained the process from seed to bottle takes approximately 1.5 months, after that the mushrooms will grow and must be harvested within 5 days. Each bottle can produce around 6 to 8 bathes of mushrooms before it needed to be replaced. The house he brought us to, the mushrooms are ready to be harvested.

As we entered the house, we saw rows and rows of containers horizontally stacked on top of one another. Some already had oyster mushrooms sprouting from the bottle head. These are the ones that can be harvested. Ah Ming advised us to harvest the bigger mushrooms compared to the smaller ones, as the smaller ones are still growing.

So how do one harvest mushrooms? It is very simple. Just hold the mushroom gently with one hand and give a firm tug and pull it out from the container.
While our eldest was busy plucking mushrooms with her friend, our little one was a little apprehensive with touching the mushrooms. The first time she touched the mushrooms she cried so loudly! After much convincing and us showing her how we plucked the mushrooms, she finally gathered some courage and did it all by herself. Hooray!

At one point, Ah Ming took out his mobile phone, turned on the torch light function, and put it underneath some mushrooms. We could see some powdery form moving about in the air. These are mushroom spores. Mushroom shoot spores into the air from their underside, relying on moving air currents to passively distribute the spores over a wide area. It was really fascinating to see how the spores seemed to be dancing around and making patterns in the air when under the light.
We spent at least a good half and hour inside the house. Just look at the mushrooms harvested!

Next, we proceeded to the packing factory. Here is where the packing and seeding takes place. In front of Ah Ming was a huge pile of what looked like sand. However, upon further inspection and explanation from Ah Ming, it was sawdust. The base or soil for growing mushrooms comprises of sawdust from rubber trees and ground rice husk.

Behind the huge pile of sawdust was the production area. Here the workers packed and sealed the sawdust into plastic bags. These bags were then baked in an oven for 8 hours to kill off bacteria. Lastly it will be placed in a cooling room for the bags to cool down. Lastly, the seeding would take place inside the cooling room as well before it was brought to the mushroom house.


We were encouraged to put our hands into the sawdust and tell Ah Ming how it felt. to our surprise, the sawdust felt warm to the touch! Ah Ming then explained the warm sensation was due to fermentation process.

Next, the children gathered around a small pile of sawdust. They were required to scoop the sawdust and pack it inside the plastic bag.

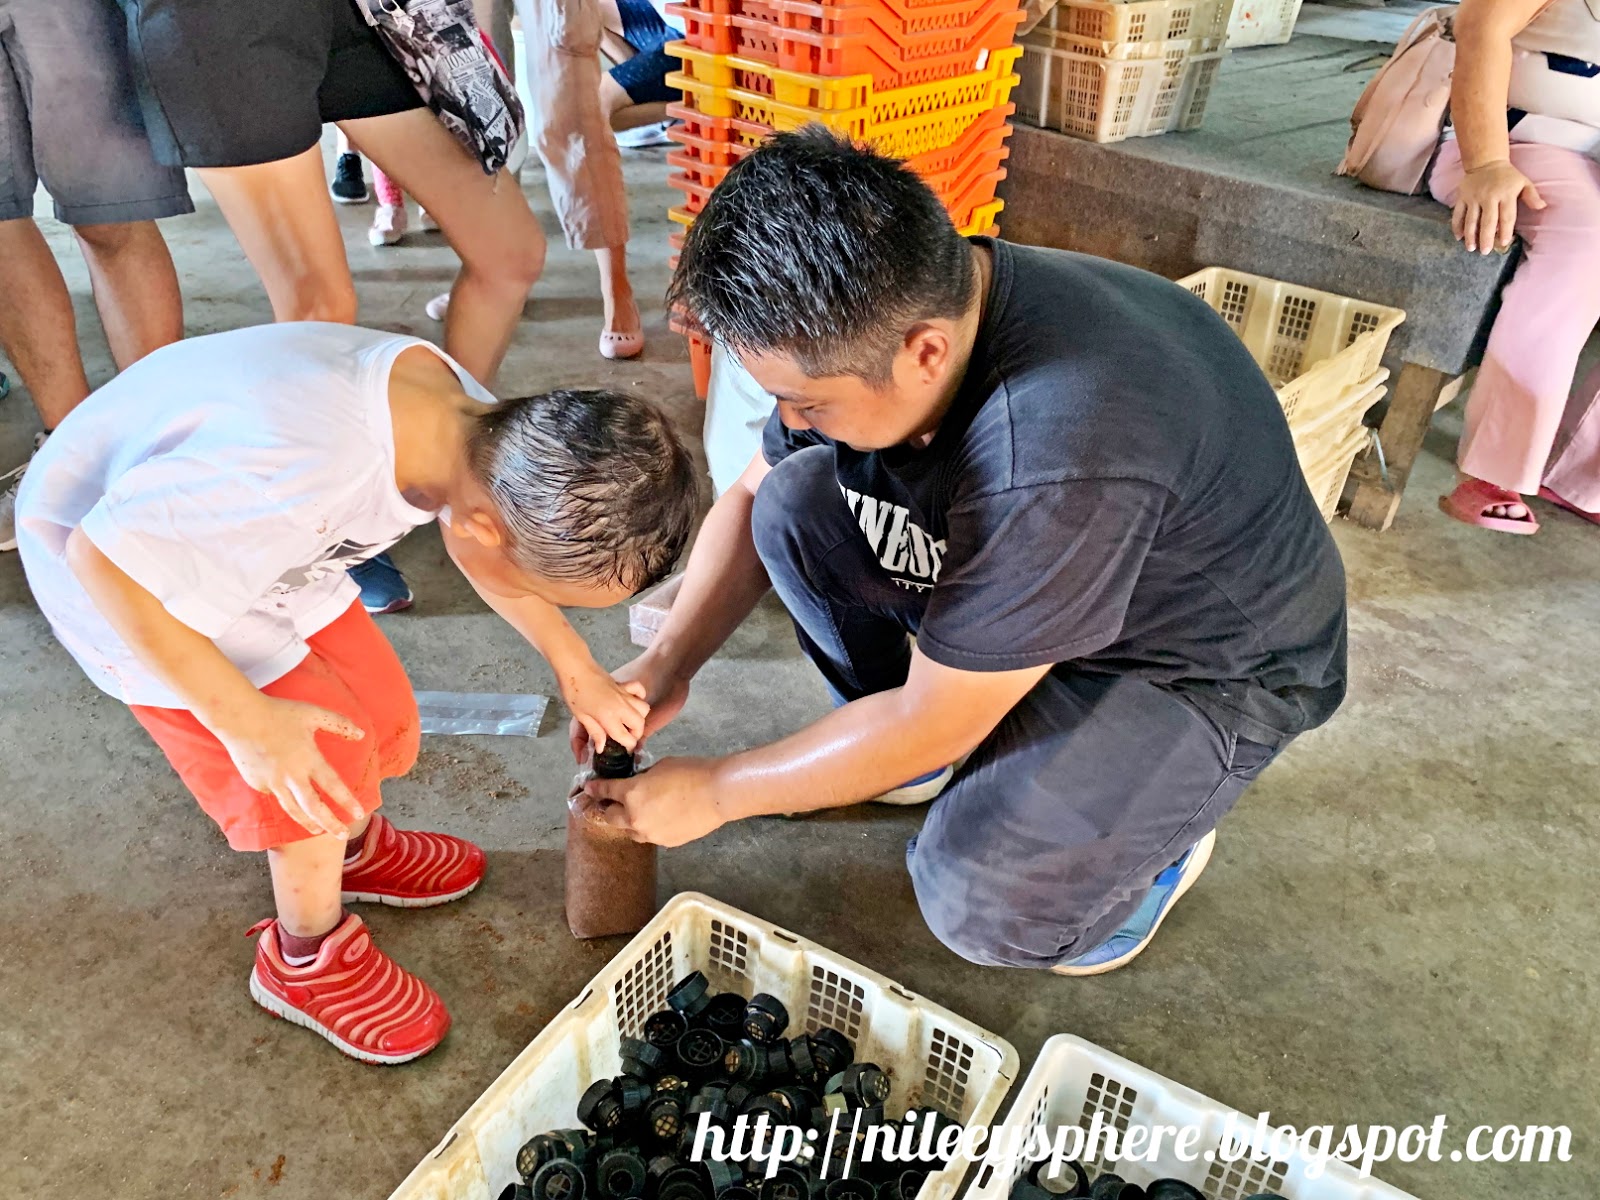
After scooping and packing was done, one of the workers would help to seal the container by fitting in the cap. The children could not bring back these bags as they do not contain the mushroom spores, a separate grow-your-own-mushroom kit will be provided later at the end of the tour.
Next itinerary was break time and to visit their mini animal farm. There were ducks, geese, rabbits, a huge turkey, chickens, goats and fishes. The fish pond was a favourite for the children, they used the mini fishing nets to catch the fish and put them into the buckets provided. After done, they will pour the fishes back into the pond. On a side note, I think we as parents need to teach children to be kind to animals as they are living creatures as well. There were some children who were a little rough with the fishes, a few probably died of trauma 😢


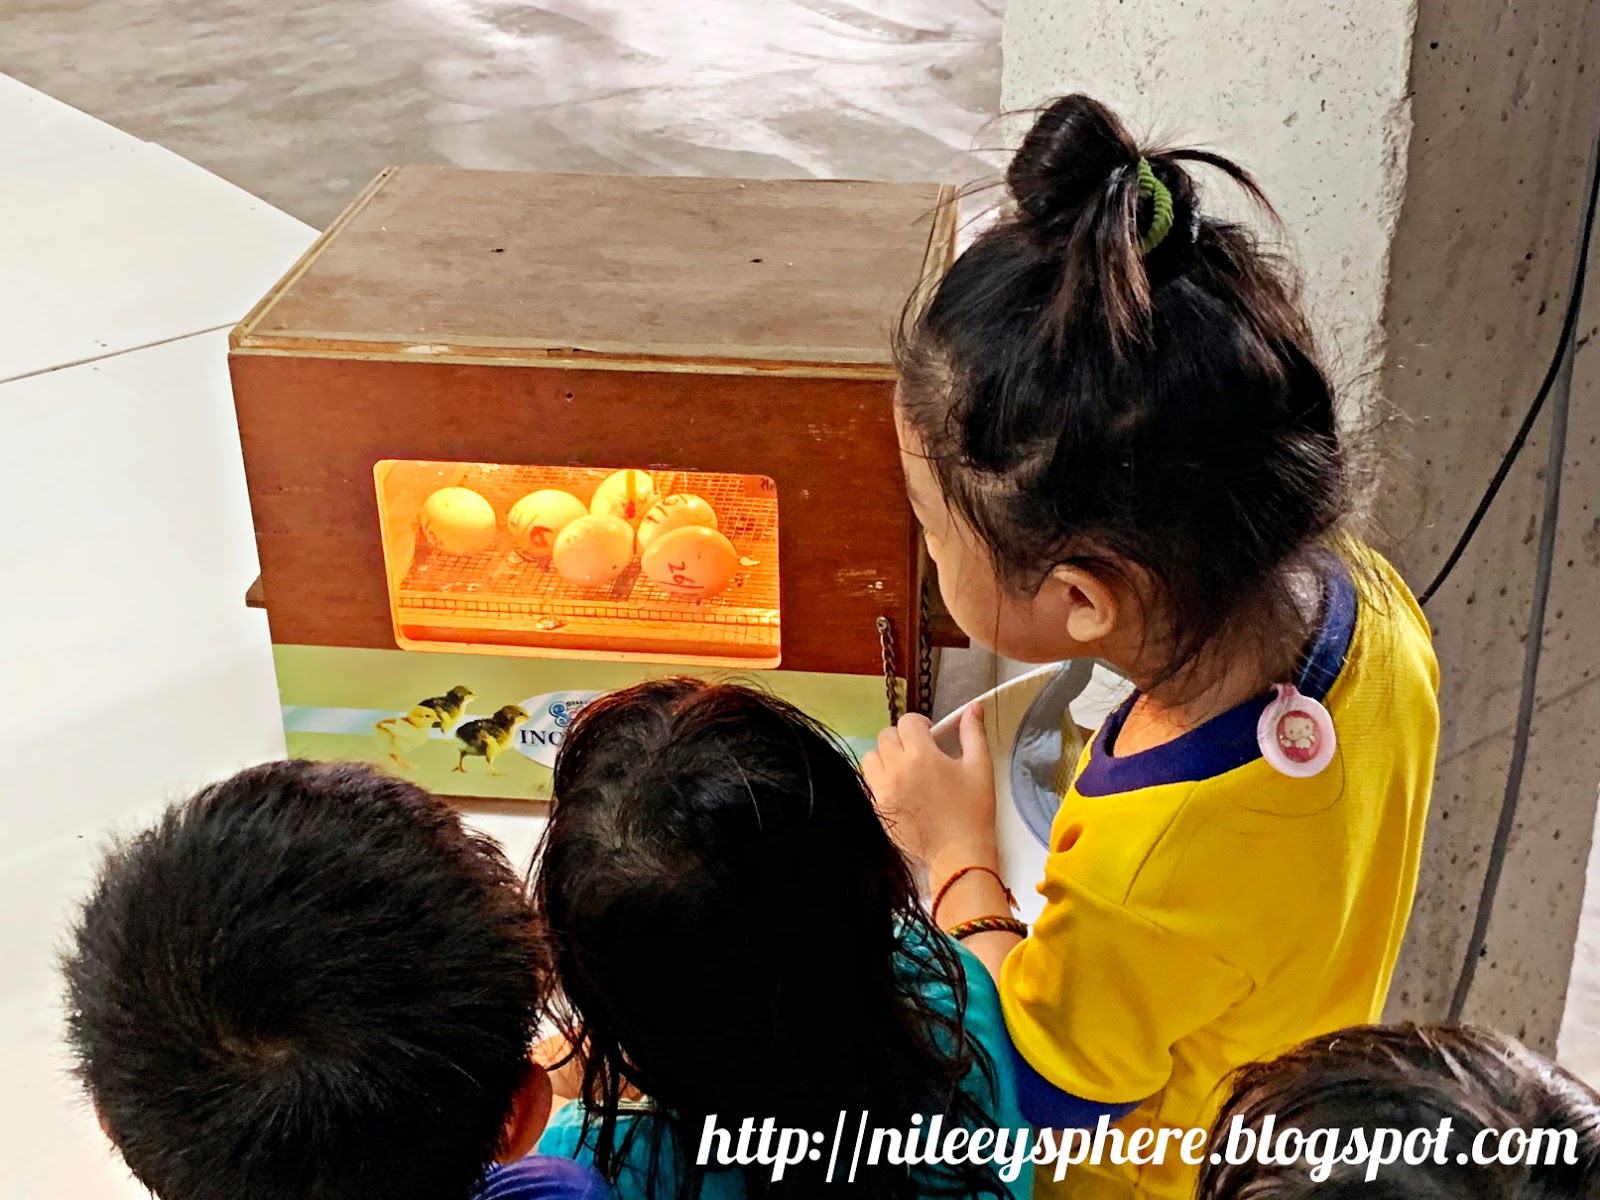
Back at the gathering point before the final activity, Ah Ming showed us an egg incubator. I had never seen an egg incubator before, I am sure most of us had not seen one either. Too bad there were no eggs being hatched at the moment. There was another cage which housed the newly hatched chicks, I could not take a nice picture hence did not post it here.
There was also a huge air-conditioned room opened for display. I supposed this room would be closed and operational whenever there are no tours on that day.

At another corner of the room were racks of containers with fully grown Ling Zhi and Oyster mushrooms. I didn't manage to ask Ah Ming if these were for display only or they will be harvested and packed later.


Finally the last event - Decorating your own mushroom kit! The children were given one box each. Inside the box contained a bag packed with soil and mushroom spores which were ready to sprout, and instructions printed on a piece of paper.

The children were provided with markers, stickers, glue and assorted embellishments so they could decorate their own kit to bring home. My children clearly enjoyed this activity the most 😁


We were also given a pack of fresh oyster mushrooms to bring home and cook. One can purchase additional mushroom kit for RM15 each, and fresh oyster mushrooms for RM5 per pack.
That was the end of our mushroom farm tour. My children enjoyed it very much, plus the fact that weather was not too hot on that day itself. The only feedback we provided to Ah Ming was to provide the children with face mask while at the production area where the sawdust was, hopefully he will take this point into account for future farm tours.
We brought home the mushroom kits and followed the instructions provided :
1. There are two covered holes on each side of the box (4 holes altogether)
2. Label one side of the hole with 1 (top), 3 (bottom).
3. Repeat on the other side with 2 (top), 4 (bottom)
4. First, open up the hole with label 1. Use a penknife to gently cut a hole into the plastic. Try not to cut deeply into the soil in case the spores are damaged.
5. Put it in a well ventilated room. If the room is humid it is better. Avoid contact with direct sunlight.
6. Spray with water 3 times a day. If the room is dry can increase frequency of spraying.
7. The mushroom will grow after a few days. Once mushroom sprouted can increase the frequency of spraying. The mushroom must be harvested within 5 days, else it would dry up and shrivel.
We kept the mushroom kits in our laundry area. It was well ventilated, humid and not under direct sunlight. Our first batch of mushrooms sprouted nicely after a week. After that, the weather became so hot that it affected the next batch of mushrooms. We had to move it into the pantry and continued with the spraying. All in all, we managed to successfully grow two out of four batches for both boxes. I suspected the change in weather had caused the soil to dry up and crack, hence affecting the mushrooms. After the project is done, we mix the sawdust into our garden soil to make it as fertilizer.
As for the mushrooms, we cooked tempura mushrooms using the fresh ones from the farm. The ones we harvested we use it to stir-fry with meat and broccoli.

Overall, it was a very enjoyable educational trip for us and the children. I am also glad to have an opportunity to learn more about mushroom farming (perhaps a venture in future??)
Below is Jumbo Mushroom Farm's Facebook page. Click and like to find out more about their farm.
P.S - I would love to have this retro style mushroom house table and stools in my garden, but I am pretty sure my husband would disagree 😂😂

Comments
Mushroom growing kit UK
Mushroom growing kit UK
Mushroom kits UK